Design the dining room
Menu › Tables › Design Dining Room
What it’s for
This is where you build the floor plan for your place: the areas, the tables, and where each one sits. You do it once when you start, and after that only when you move the furniture around.
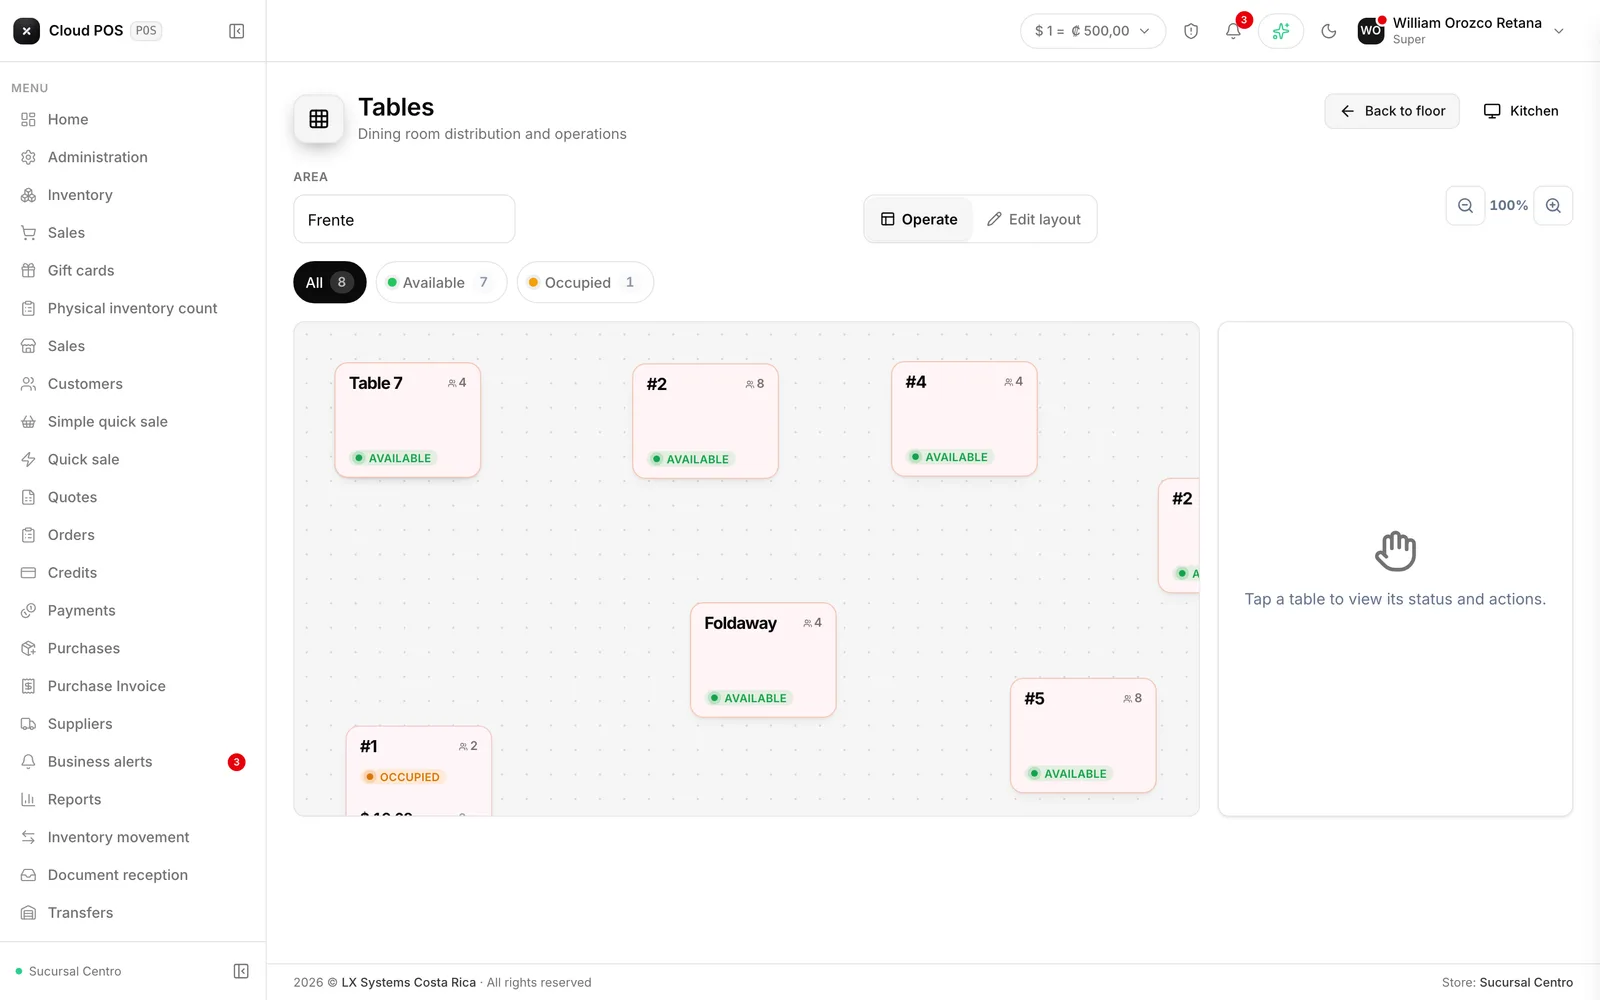
Setting up the dining room for the first time
Switch to Edit layout
The button is at the top. In Operate mode you can’t move anything.
Create the areas
With + Area. One for each zone in your place: dining room, patio, bar.
Add the tables
With + Table. Each one starts out with room for four.
Drag them into place
The plan should look like your actual place: that’s what makes the dining room useful at a glance.
Set the name and capacity
Tap a table and edit the panel on the right.
There’s no save button. Everything saves on its own: when you drop a table and when you leave each field. “Saving…” shows up at the top, then “Saved.”
Operate mode
The same screen works for running service without going to the floor. When you tap a table, the side panel offers Open tab if it’s free, or Order and Bill if it already has one. You can also change the status by hand.
If a table gets stuck — the customer left and it never went back to Free — the Clear table button frees it up with one tap, without having to change the status by hand. It only works if the table doesn’t owe anything: if it still has unpaid consumption, the system says so instead of freeing it anyway.
Things worth knowing
Zoom is only visual. Zooming in or out doesn’t change the plan; it’s there so you can work comfortably on small screens.
Creating tables and opening tabs depends on a permission. If the buttons are visible but grayed out, that’s why.
Changing the status by hand is for special cases — holding a table, taking it out of service. Day to day, statuses move on their own as orders and payments happen.